Face Makeover

A Make-over with Products Commonly Available
Stage two of Jenn's make-over was the make-up itself. She had instructed me that she really wanted a natural look, so I planned my products carefully. I also wanted to make sure that the products I used were commonly available, so I shopped my local market and found the following:
Tinted moisturizer ($6)
Light Liquid Concealer ($7)
Translucent Powder ($7)
Eye Pencil, soft brown ($6)
Mascara, brown ($7)
Eyeshadow, three neutral shades, light-medium-dark ($5)
Blusher, two-tone, neutral-pink ($5)
Lipstick, soft pink ($5)
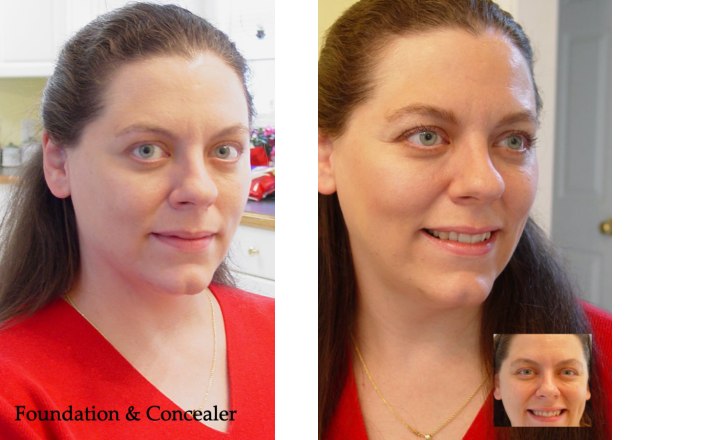
The concealer was blended by dabbing with a sponge using a little more of the tinted moisturizer. The new tinted moisturizers are great for women who want to even their skin tone without the look and feel of heavier foundation make-up.

It's important to remember when choosing a foundation color that your foundation should ALWAYS become invisible when applied to your skin. You shouldn't be able to "clearly see" where you've applied the make-up. If you can, then the make-up is either too light, or too-dark. For concealer, you should remember that it should be opaque, but should blend smoothly and it, too, should disappear as you dab it with the foundation-moistened sponge. You can always add a touch more concealer, but if you start with too much, you may have to wash it away and start over.
I set the foundation and concealer with a translucent powder to reduce shine and soften the features (see photo), then began work with Jenn's eyes. Using the soft brown eye pencil, I lined the upper and lower lids of each eye and added a little color to fill-in the brow line. The brows were then blended with an eyebrow brush. I followed this with a one-coat application of mascara in a brown shade a little darker than the eyeliner color. By keeping the application light, I avoided clumping the lashes and kept the look natural.
Many women make the mistake of thinking eyeliner and mascara colors have to be black, when a softer, brown shade will give the eyes the definition they crave and provide a very natural look. While most nighttime looks need darker eyeliner and mascara colors, using these same colors for a daytime look leave you looking overly made-up. Consider keeping two sets of mascara and eyeliner, one for day, and one for night.

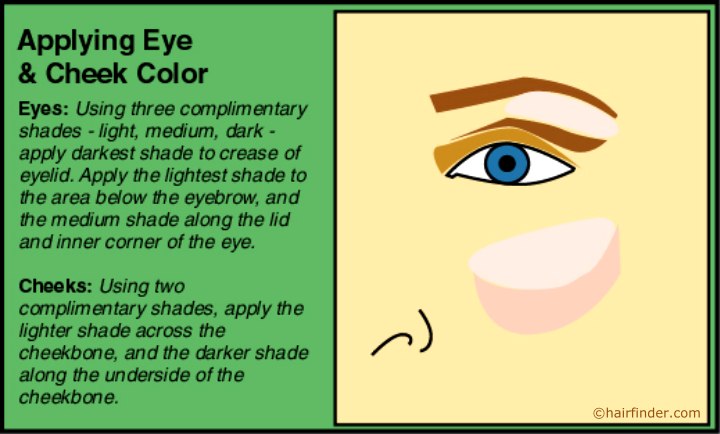
Next, I applied eyeshadow. Jenn's eyes are prominent and protrude slightly with a heavy upper lid. By using the three neutral shades of eye color, I created an artificial contour to the upper lid. This was accomplished by applying the dark shade of eye color to the crease of the eye, extending it out slightly at the outer corners of the eyes.
Medium eye color was applied to the lids themselves and to the inner corners of the eye, while the lightest shade of eye color was applied along the underside of the brows and in a small circular area on the lid. The eye colors I used were "creamy" colors, which give a smooth, soft finish for a natural look.
Another "creamy" color choice was in cheek color. I chose a soft, neutral "pinkish" blush with a lighter, complimentary shade. Most manufacturers offer two-tone sets for cheek color, which are great choices for highlighting and contouring the cheekbones of the face. By applying the lighter shade across the cheekbones themselves and the darker pink color just below the cheekbone, I created an enhancement to the natural contour of Jenn's face.
To finish the look, I added a soft pink lip color. The product was similar in texture to a tinted lip balm, very creamy, and Jenn really liked it. It is designed to even out the color of the lips, to moisturize and adds its own SPF protection from harmful UV rays of the sun.
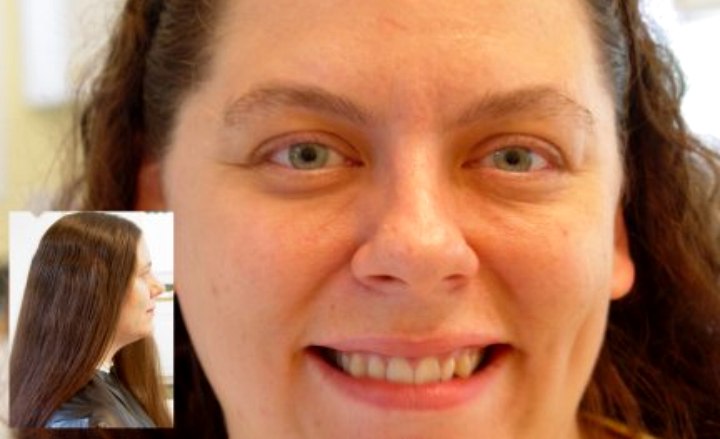
The finished look was one that is soft and natural, exactly what Jenn wanted. It was also a pleasant experience for Jenn herself, who now intends to include make-up in her daily regimen.
©hairfinder.com
See also: Jennifer's Hair Makeover