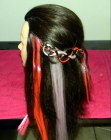
Four-strand Braid
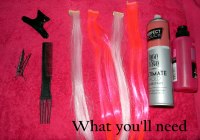
What you will need:
a. Clip-in hair extensions
b. Bobby-pins
c. Hairspray
d. Combs
e. Clips
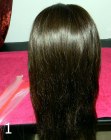
1. Comb all the hair to the back of the model’s head. It is very important that you get rid of all the knots and tangles, as these will make the formation of the four-strand braid impossible. If your hair is very curly, it will be best to first flat-iron your hair. Curls will make the pattern of the braid difficult to pull off.
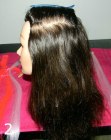
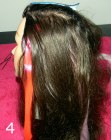
3. Insert the clip-in extensions on the parting. Make sure that the extension is securely inserted, and that the clip of the extension is not pulling painfully at the model’s hair or causing her any pain. If she does experience pain caused by the extension, take it out and attach it again until the model is comfortable.
4. Release the clip and flip over the hair from the crown side; to cover the point of origin of the extension. It’s fine if the clips of your extensions are still showing slightly. The goal here is to make sure that you’ll be able to effectively camouflage the clips when the braiding is done. Gently comb the hair and the extension hair together so that it meshes. Take care not to dislodge the extensions while combing though.
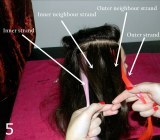
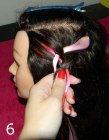
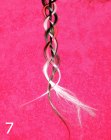
5. Divide the hair into four small sections/strands. It is important in this case that the strands are quite thin, as thicker sections of hair will not depict the pattern of the braid effectively. This is also why using the extensions in this braid is so much fun, as it throws the distinctive pattern of the braid into sharp relief.
Next Page
