Elegant Soft Crop

Step by step guide on how to cut an elegant soft crop with short round uniform layer and conical crown, from Stacey Broughton, myhairdressers.com
An essential, basic, but beautiful shape. Combining street-chic and the classic images of Audrey Hepburn in Roman Holiday, we use simple yet precise cutting techniques that can be achieved by hairdressers of any level. The result is a fitted, elegant, soft crop (pixie cut) with emphasis on the conical interior, which enhances the head shape.

Before: Andrea before the haircut.

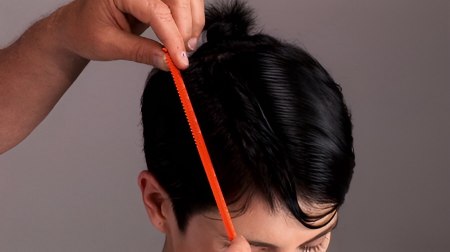
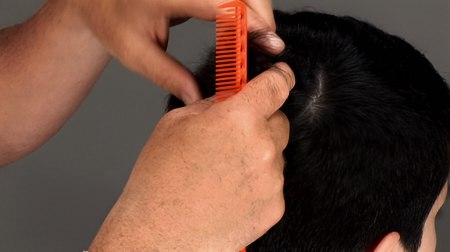
Step 1: Create a circular section in the crown, then two horizontal sections through the sides from the circle to the temples.

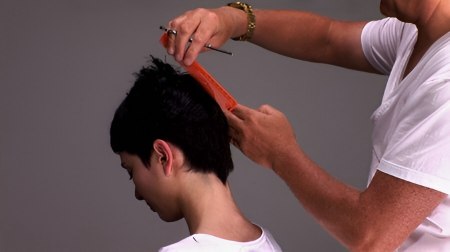
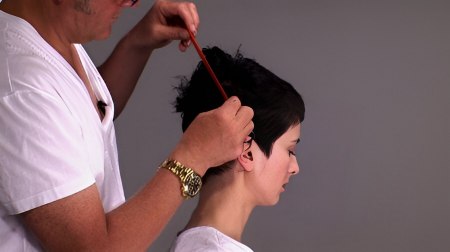
Step 2: Begin by taking a vertical section from crown to nape. Pull the hair straight out and cut a flat square line to the head shape.

Step 3: Using parallel sections, repeat the same process on the subsequent sections, working round towards the ear. Please note that the circular crown section enables you to work accurately to the round of the head.

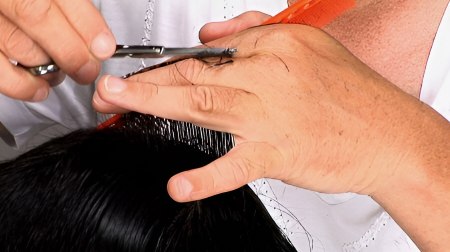
Step 4: Once you have reached the round of the head, cross-check your work.

Step 5: Repeat the same process on the second side in order to maintain balance between the two sides.

Step 6: Now return to the first side and work with parallel sections with the same process towards the back of the ear. Please note that the angle slightly changes from vertical to diagonal as you work, following the round of the head.

Step 7: Repeat this process on the second side.

Step 8: Return to the first side and using the same technique, work through into the front.

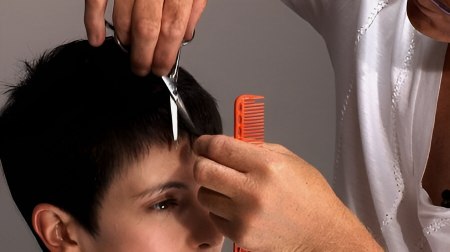
Step 9: Once you reach the front hairline, apply slight over-direction which effectively softens the perimeter to gently frame the face.

Step 10: Repeat the same process on his second side.

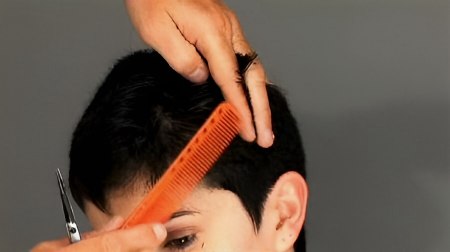
Step 11: Next, refine the perimeter in the back, using freehand techniques and working with the natural growth patterns, ensuring a clean tailored outline.

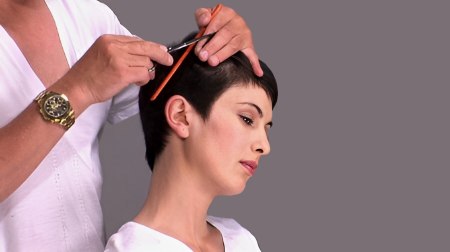
Step 12: Refine the outline around the ear with the same techniques. Please note how Stacey is careful and visually aware when refining.

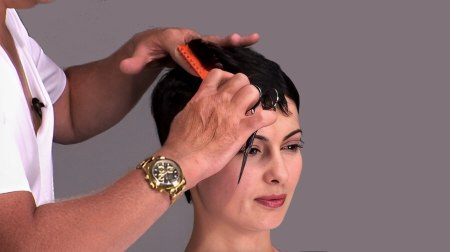
Step 13: Next, work with the top area. Take a side section from the crown to the front hairline, elevate the hair and cut a square line. Note that Stacey has chosen this line as he has carefully observed the growth patterns and wishes to achieve a flattened tailored effect which reflects the natural parting.

Step 14: Please note that as you work across the head, you should follow the roundness of the crown section.
Step 15: Work approximately five sections.
Step 16: Now, work with the same technique on the under-side of the line, completing this section with a little over-direction, creating weight where the head rounds.

Step 17: Next, return to the top and continue with parallel sections, over-directing as you go.
Step 18: As you are cutting a square line, you will create corners in the side areas, which you will later refine.
Step 19: Then refine the corners, connecting the top to the side areas.
Step 20: Work free-hand techniques with the fringe area.
Step 21: Now move to the crown area.
Step 22: Take a section from the centre of the circular section to the front and, using the front area as a guide, cut a line from short to long towards the back.

Step 23: Using the front of this line as a guide, pivot the subsequent sections on either side and cut from short to long to create a conical shape in the centre of the crown.
Step 24: Repeat this process on the bottom of the circle, connecting the back to the crown.
Step 25: Repeat this process on the two sides of the circular section.

Step 26: Now dry the hair, using a Red Leopard print Corioliss dryer.
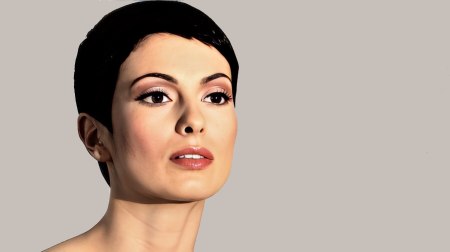
Finish: The result is a fitted elegant soft pixie cut with emphasis on the conical interior which enhances the head shape.
Text and photos by MHD. Subscribe to view the training video!
See also: How to cut a short graduated haircut